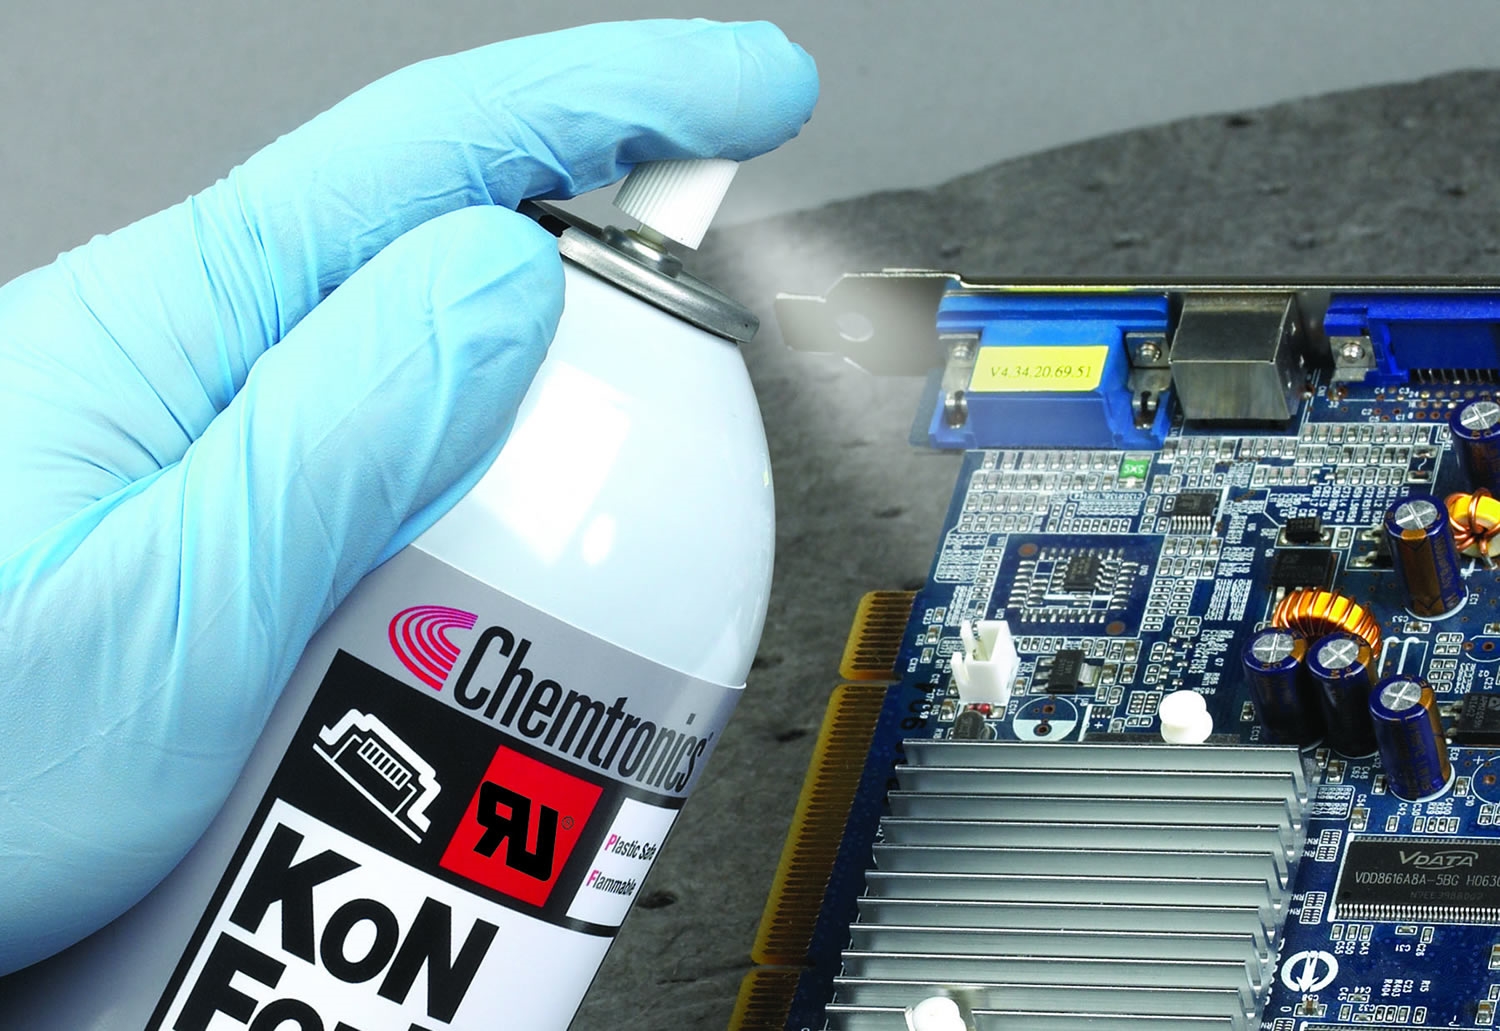
Step 1: Clean PCBA
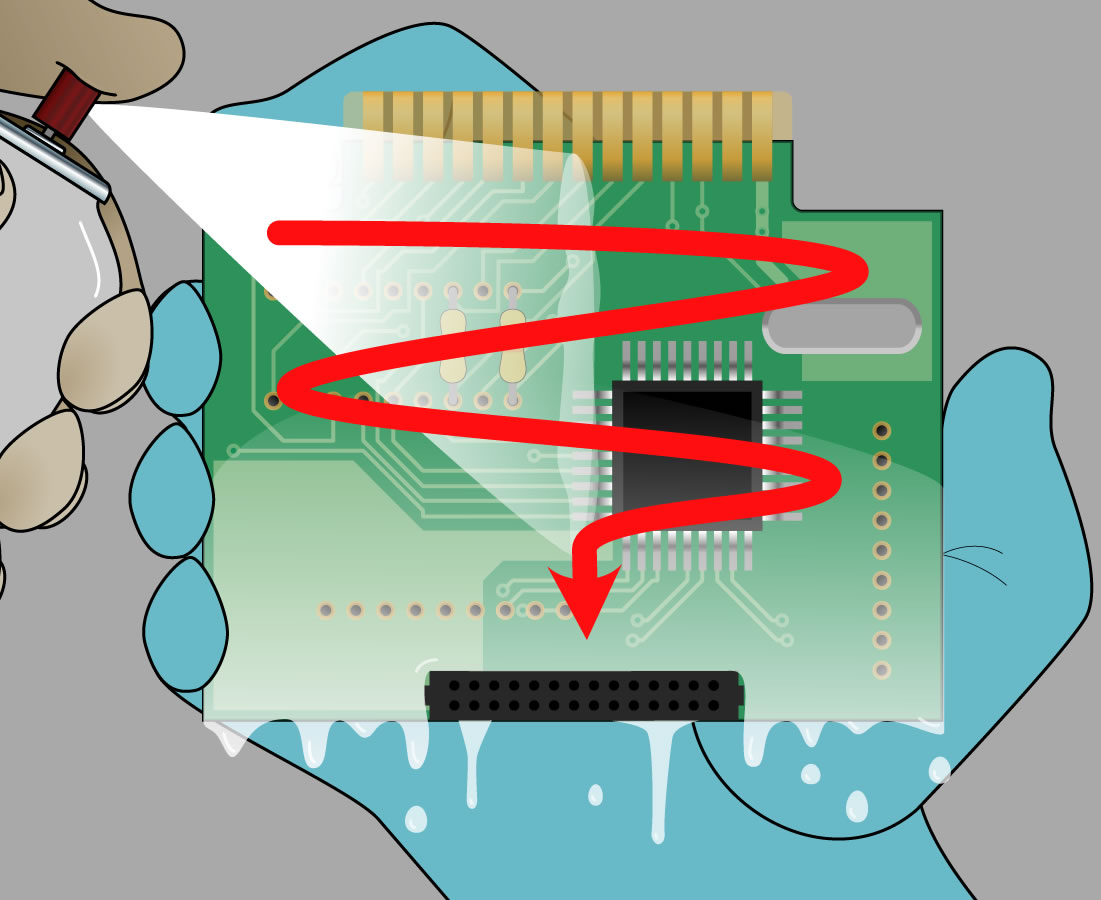 | To ensure proper adhesion and reduce the potential for defects such as bubbles, clean the PCBA surface. If cleaning with an aerosol flux remover, hold the PCBA at a 45° angle or greater to allow the solvent to flow down, off the board, taking the contamination with it. Start at the top of the PCBA and work your way to the bottom using a back and forth sweeping motion. To remove flux from tight areas, use the extension tube (straw) that is included with most flux removers. For tenacious, baked-on residues, some flux removers include a brush attachment. |
STEP 2: Apply mask over keep-out areas
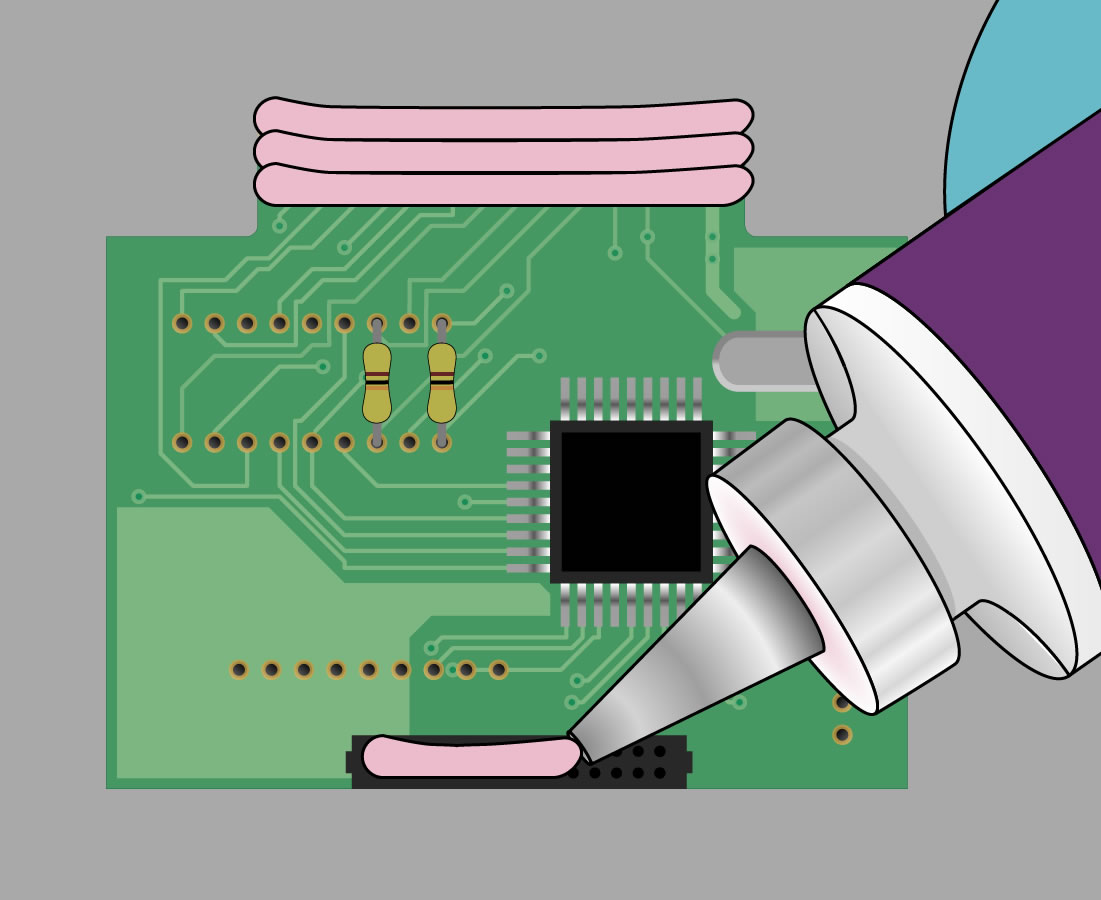 | Because conformal coating is insulative, contact areas should be masked before the coating process. Engineering specifications might require keep-out areas for other reasons (e.g. compatibility, secondary processes to follow). Polyimide tape (e.g. brand name Kapton) is commonly used to mask broad areas (e.g. gold fingers). NOTE: adhesives from tape has potential to interact with a coatings solvent carrier, or cause the coating to dewet or back away from the masked area. For masking over standard components or geometries, masking boots can be used that slip over the keep-out area, and pulled off and reused (and periodically cleaned) when complete. Temporary solder mask is ideal for uneven surfaces or areas that vary from job-to-job. Peelable mask is recommended because the layer of coating makes it difficult to wash off water-soluble masks. To hand apply, hold the bottle at an angle (roughly 60°), which will ensure a thick enough bead for ensure easy removal. Clear here for a thorough guide to temporary solder mask. |
Step 3: Spray 1st coat.
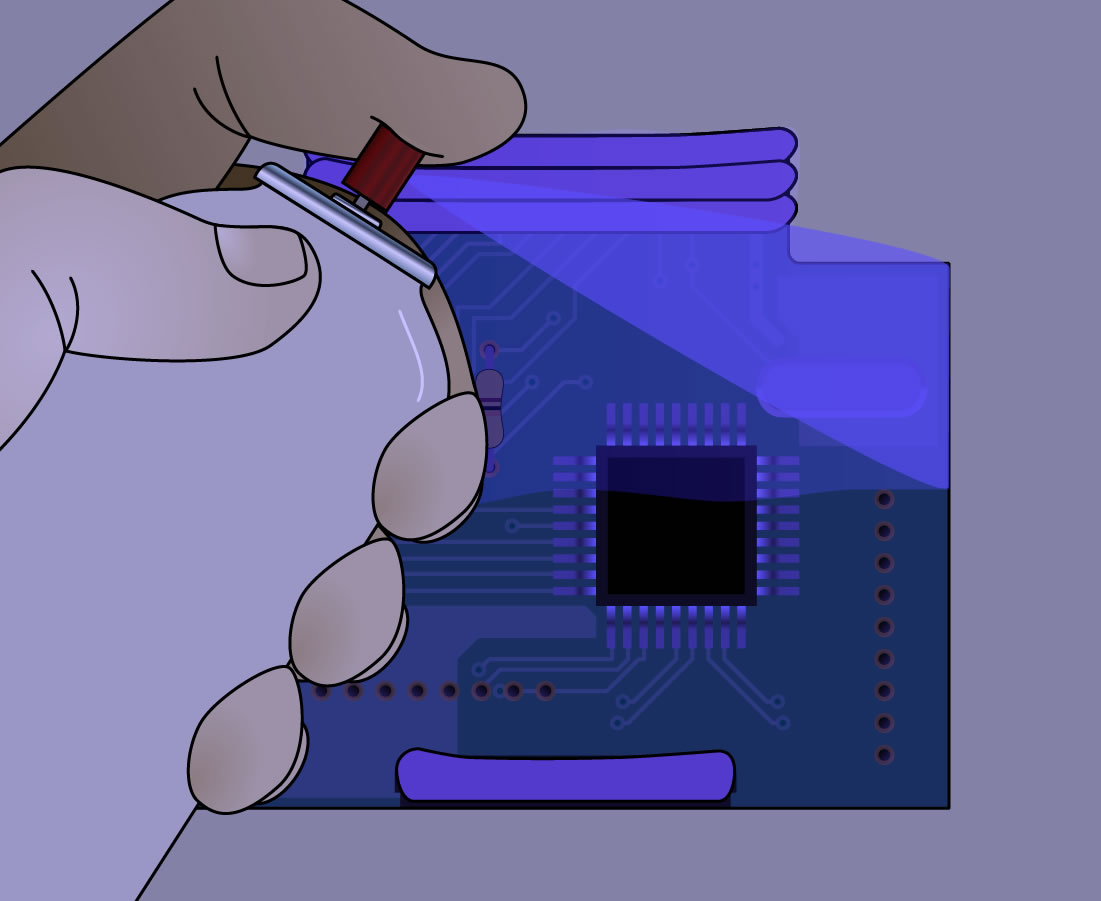 (coating application processes shown under UV “black” light) | Place the PCBA on a flat surface. Hold the aerosol can 8-10” (20.3-25.4cm) from the surface of the board. Spraying too close can result in bubbles or in uneven coating. Start spraying from the left and move to the right in a smooth, even motion. Begin and end the spraying in a controlled manner to ensure even coating over the entire surface. The speed of the passes controls the amount of coating applied. It is better to apply thin, multiple coats than an extremely thick coat in one pass. Consistency is key to a repeatable process and dependable reliability of the final assembly. |
Step 4: Spray multiple passes for full coverage
 | Larger boards may require more than one pass to completely cover. Make sure to keep track of the edge of each pass, and slightly overlap each subsequent pass with the previous one. |
Step 5: Turn and Spray 2nd coat, turn again for 3rd coat
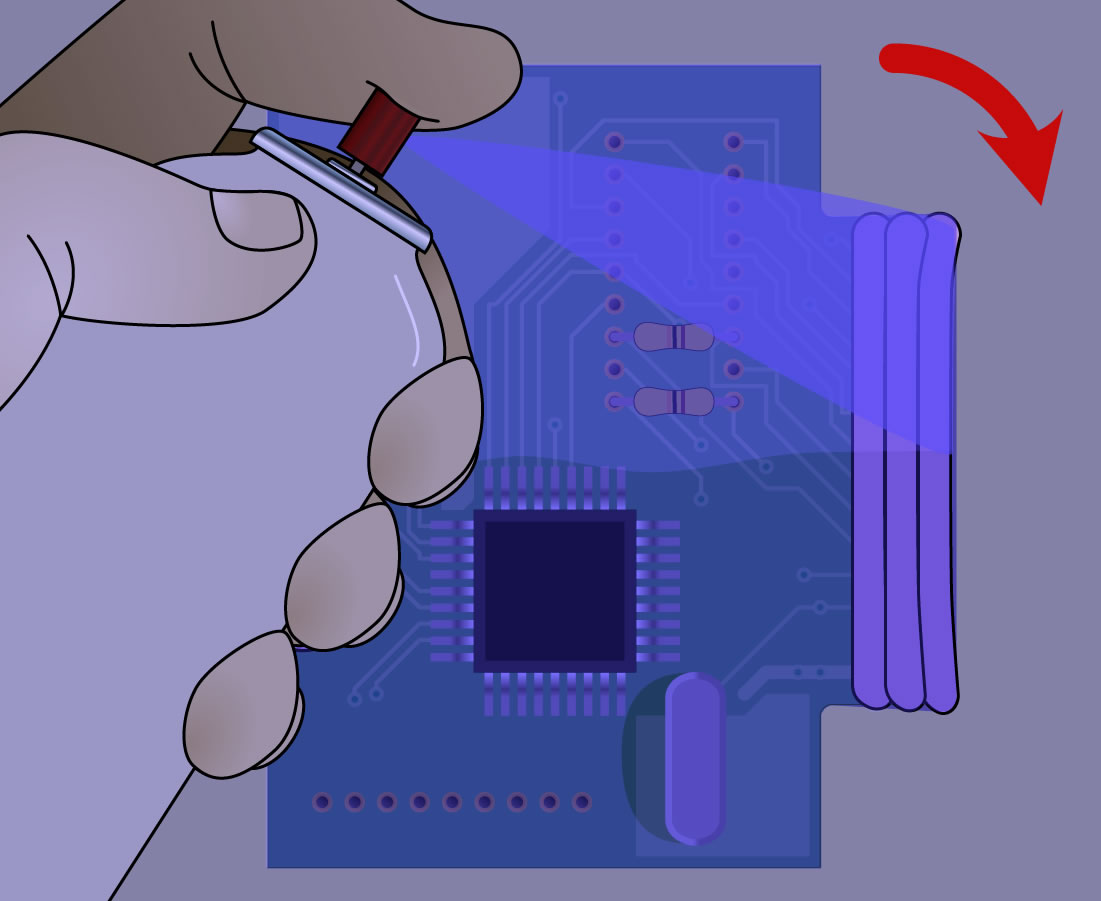 | Turn the PCBA 90° and repeat step 3. Turn the board one more time and repeat step 3. You will be applying a total of three coats, wet-on-wet, to reduce the chances of shadowing. A shadow is created when the coating spray is blocked by the height of a component. |
Step 6: Identify voids under UV light
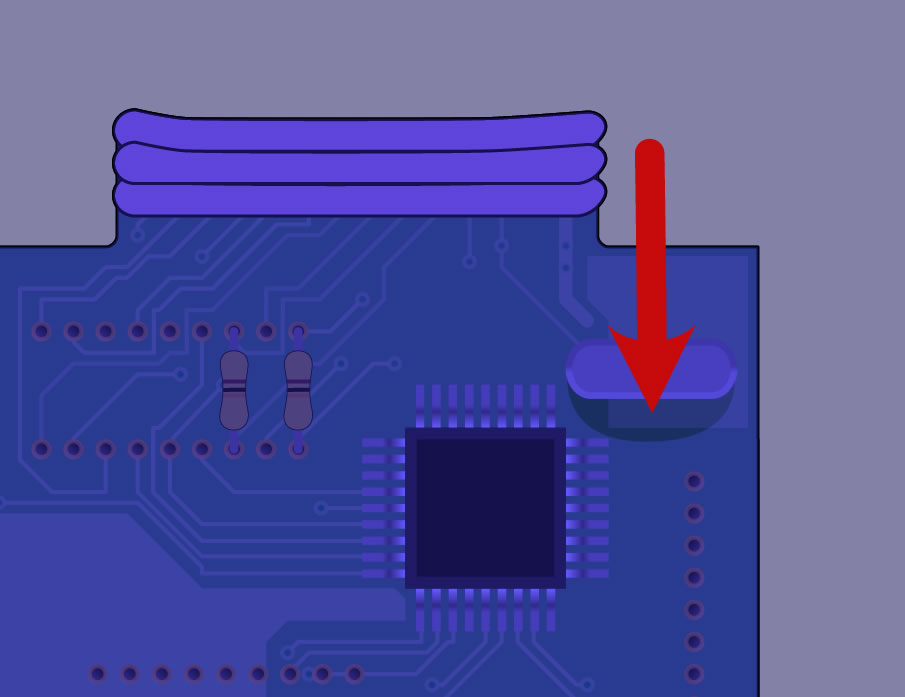 | Inspect the quality of the coating under a UV “black” light. Since conformal coating is clear and colorless, it is difficult to reliably see defects under normal light. UV tracer is added to most coatings, so it glows under a typical UV lamp with a wavelength between 320 and 380 nm. |
Step 7: Brush coating to repair voids
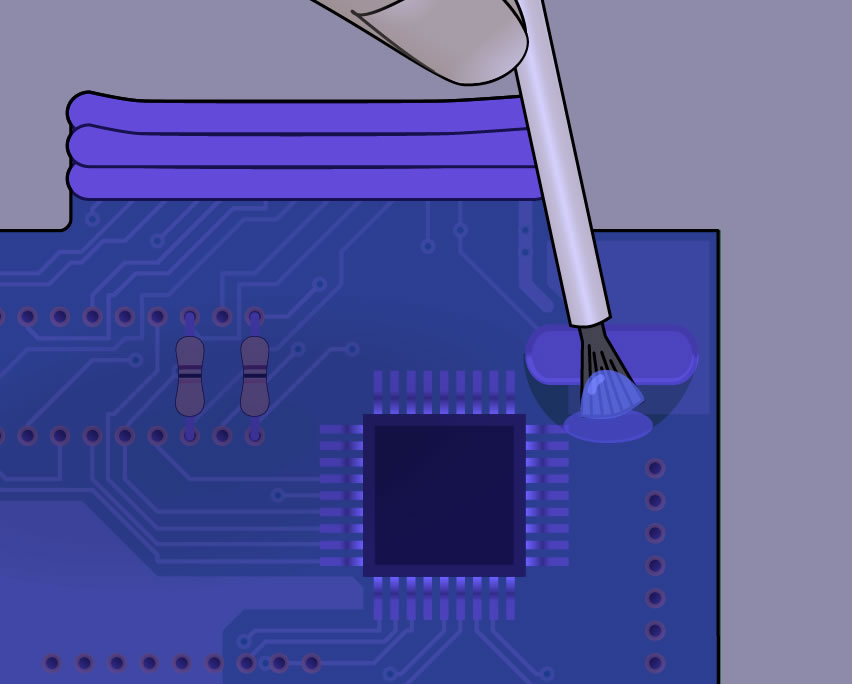 | Coating can be applied by a small technical brush to rework shadowed areas, pinholes, and dewetted areas. NOTE: dewetting is a symptom of contamination, so if it continues to dewet, you might have to strip the coating from the PCBA, clean, and start over. Click here for more information on common coating defects and their causes. Use a brush with natural fibers. Synthetic fibers have the potential to interact with the harsh solvents common in conformal coatings. Spend the money on a high quality brush to avoid lost bristles turning into FOD (foreign object debris), a common coating defect. |

